How to Identify and Fix a Leaky Tire Valve?
Keeping your tires at the right pressure is key for safe and efficient driving. A leaky tire valve can cause slow air loss and safety risks. This guide will show you how to spot and fix a leaky tire valve. You’ll learn how to keep your tires in top shape.

Key Takeaways
- Understand the different components and functions of tire valves to identify the source of a leak
- Recognize the signs of a leaky tire valve, such as a hissing sound or reduced tire pressure
- Gather the essential tools and materials required for valve repair, including a valve core remover and replacement cores
- Learn the step-by-step process to replace a leaky valve core or the entire valve stem
- Implement preventive maintenance strategies to avoid future valve leaks and ensure long-term tire performance
Understanding Tire Valve Components and Their Functions
To fix a leaky tire valve, you need to know the parts that make it up. Tire valves keep your vehicle’s tires at the right air pressure. Knowing how they work helps you find and fix problems like tire valve stem leak, tire pressure loss, or valve core replacement.
Types of Tire Valves
There are two main types of tire valves: Schrader and Presta. Schrader valves are found on most cars. Presta valves are used on high-performance bikes and some specialty tires.
Common Valve Components
- Valve core: This part lets you adjust the tire’s air pressure.
- Valve stem: It’s the long, hollow part that sticks out from the wheel.
- Valve cap: This cap protects the valve stem from dirt and debris.
Understanding Valve Stem Design
The valve stem is made to be strong and flexible. It can handle the daily wear and tear of driving. The stem’s length and angle depend on the tire and wheel type. Knowing this helps when you need to replace or service it.
“Taking good care of your tire valves can prevent tire pressure loss and valve core replacement problems later on.”
Signs of a Leaky Tire Valve
Spotting a leaky tire valve is the first step to fixing it. Keeping an eye on your tires helps catch problems early. This prevents damage and keeps your tires running well.
Here are some key signs your tire valve might be leaking:
- Frequent Pressure Loss: If you’re adding air to your tires often, it might mean a leaky valve.
- Audible Hissing Sounds: Listen for hissing or whistling from the valve stem. It could mean air is leaking out.
- Visible Valve Stem Damage: Check the valve stem for cracks, holes, or damage. These can cause leaks.
Being alert and fixing valve problems quickly is key for tire health and safety. By spotting a leaky valve, you can fix it. This ensures your tires are always ready for a safe drive.
| Symptom | Description |
|---|---|
| Frequent Pressure Loss | Tires need more air than usual, which might mean a valve leak. |
| Audible Hissing Sounds | Listen for hissing or whistling from the valve stem. It could mean air is leaking. |
| Visible Valve Stem Damage | Check the valve stem for cracks, holes, or damage. These can cause leaks. |
Essential Tools and Materials for Valve Repair
Fixing a leaky tire valve requires the right tools and materials. This guide will show you what you need to fix a tire valve effectively.
Basic Tool Requirements
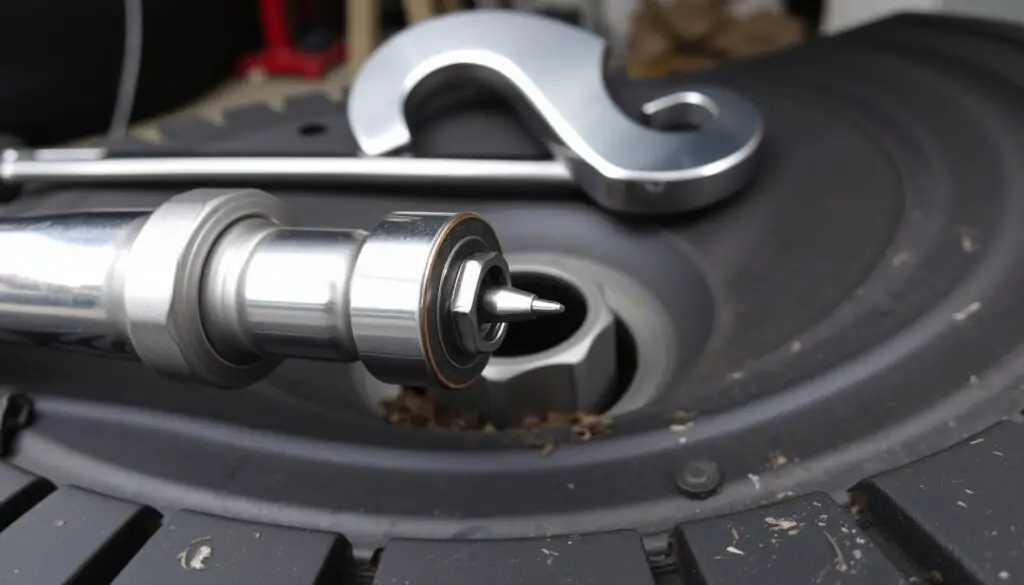
- Valve core removal tool: This tool helps remove the valve core, giving you access to the inside of the valve stem.
- Air pressure gauge: You need an accurate air pressure gauge to check the tire’s pressure before and after the repair.
- Pliers or wrench: These tools help you grip and move the valve stem during the repair.
Safety Equipment Needed
- Protective gloves: Gloves protect your hands from sharp edges or pinching during the repair.
- Safety glasses: Safety glasses keep your eyes safe from debris or dust while working on the tire valve.
Optional Specialized Tools
While basic tools are key, there are specialized tools that can make repairs easier:
- Tire inflation tool: This tool makes it simple to inflate the tire to the right pressure after the repair.
- Valve stem removal tool: This tool is for removing the entire valve stem, useful when replacing the valve.
Using the right tools makes fixing a tire valve easier and more effective. It helps keep your vehicle’s tires safe and long-lasting.
How to Identify and Fix a Leaky Tire Valve
Keeping your tires inflated is key for safe driving. Even the best tires can leak over time. Fixing a leaky tire valve is a simple DIY tire repair that saves time and money. We’ll show you how to find and fix the leak to get your tires in great shape.
Locating the Leak
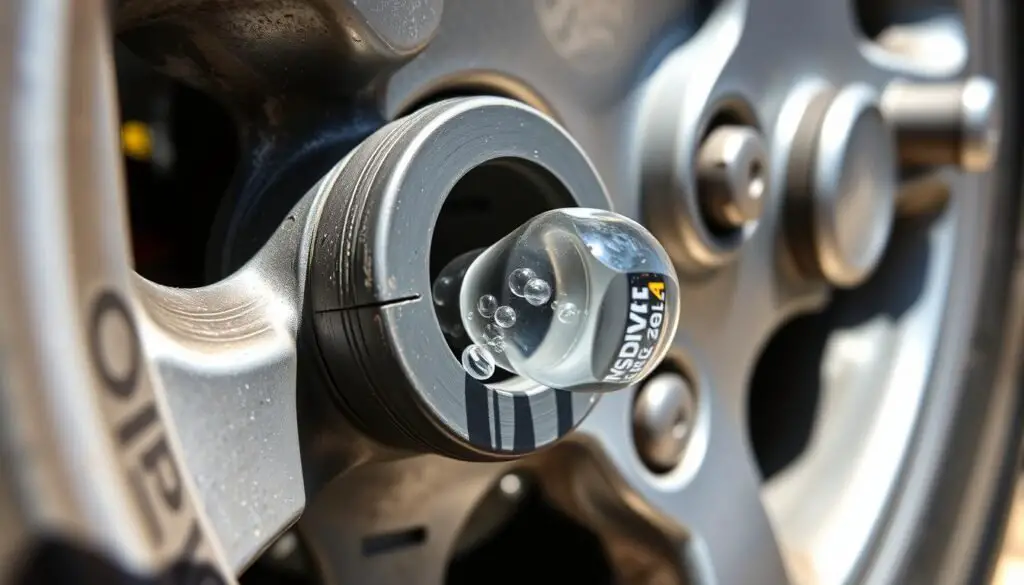
To fix a leaky tire valve, first find where it’s leaking. Use a soapy water solution around the valve stem. Look for bubbles, which show where air is escaping. This automotive repair guide trick helps you find the leak spot.
Tightening the Valve Core
- After finding the leak, tighten the valve core. Use a valve core tool to turn it clockwise until it’s tight.
- Don’t overdo it, as too much can harm the valve.
- Then, check again with soapy water to see if the leak is fixed.
If the leak doesn’t stop after tightening, you might need a new valve stem. We’ll talk about that later.

“Proper tire maintenance, including addressing leaky valves, is essential for ensuring your vehicle’s preventing air loss from tires and safety on the road.”
By following these easy steps, you can quickly fix a leaky tire valve. This saves you from bigger repair costs and hassle. Always put safety first and get help if you’re not sure about the repair.
Valve Core Replacement Process
Replacing a leaky tire valve core is often the best fix. This simple process involves taking out the old core and putting in a new one. This ensures a tight seal and stops air from leaking out. Here’s how to replace a tire valve core correctly.
Removing the Old Core
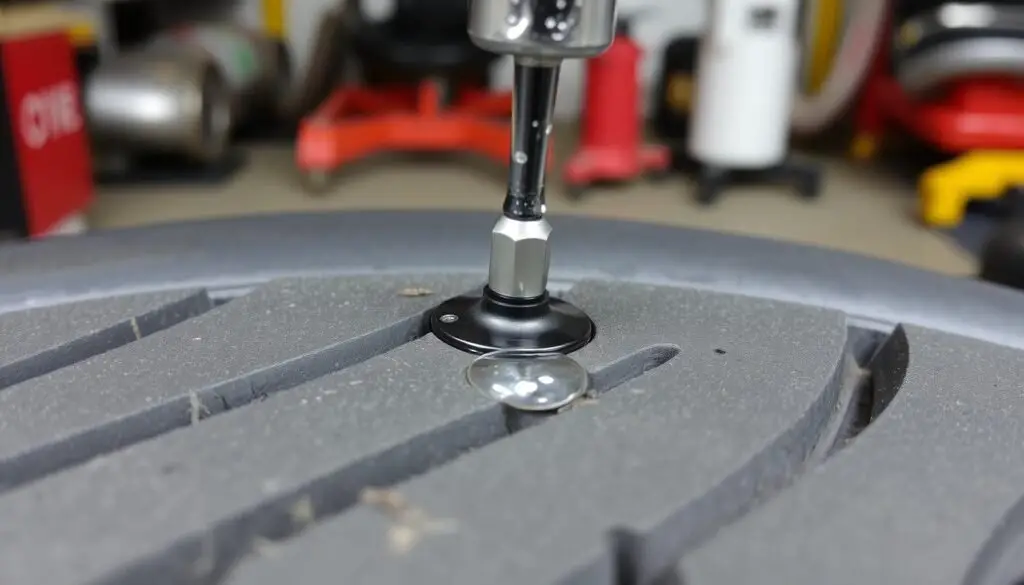
First, find the valve stem on the tire with the leak. Use a valve core tool or pliers to unscrew the old core carefully. Be careful not to harm the valve stem. After removing the core, check the stem for any dirt or damage that might have caused the leak.
Installing the New Core
Now, it’s time to put in the new core. Gently screw the new core into the valve stem. Make sure it’s not cross-threaded. Use the tool or pliers to tighten it well, so it fits snugly.
Testing for Proper Seal
After installing the new core, test if it’s sealed right. Inflate the tire to the pressure shown on the vehicle’s placard or in the manual. Look for air leaks around the valve stem with soapy water or a leak spray. If no bubbles show up, the core is sealed well, and the tire is ready.
By following these steps, you can fix a leaky tire valve core. This ensures your tires are properly inflated and safe to drive. Always use safety gear and follow the manufacturer’s instructions for the best results.
“Proper valve core maintenance is crucial for maintaining optimal tire inflation and preventing costly tire repair issues down the road.”
Complete Valve Stem Replacement Guide
Keeping your vehicle’s tires in good shape is key for safety and performance. The valve stem is crucial for keeping air pressure right. If you think there’s a leak or want to replace it, this guide will help you do it right.
When do you need to replace a valve stem? You should replace it if it’s cracked, damaged, or leaking. These problems can cause air pressure to drop, making driving unsafe. It’s also a good time to replace it during routine tubeless tire maintenance or when checking your wheel rims.
Required Tools and Materials
- Tire valve stem replacement kit
- Tire valve stem tool or pliers
- Tire lubricant
- Valve core tool (optional)
Step-by-Step Valve Stem Replacement
- Locate the valve stem: Find the valve stem on the wheel rim, near the tire’s edge.
- Deflate the tire: Let the tire go completely flat for easier removal.
- Remove the old valve stem: Use a tool or pliers to take out the old valve stem.
- Clean the valve stem hole: Make sure the hole is clean and free of dirt.
- Insert the new valve stem: Apply lubricant to the new stem and push it into the hole.
- Inflate the tire: Fill the tire to the pressure recommended by the maker.
- Test for leaks: Spray soapy water around the stem to check for leaks. Bubbles mean you need to fix it.
By using this valve stem replacement guide, you can keep your tires at the right air pressure. This improves both safety and tire life. Always check your valve stems and fix any problems quickly to avoid expensive issues.

Professional Tips for Preventing Future Valve Leaks
Keeping your tire valves in good shape is key for your tires to work well and not lose air. As an auto expert, I’m here to share some great tips for taking care of your tire valves.
Regular Maintenance Schedule
For your tire valves to stay in great condition, make a regular maintenance plan. Check the valves every time you rotate your tires, which is usually every 5,000 to 7,500 miles. This way, you can spot and fix any problems early, saving you from bigger, more expensive issues.
Best Practices for Valve Care
- Clean the valve stems often with a soft-bristle brush and mild soap to get rid of dirt and corrosion.
- Look for cracks, damage, or wear on the valves and replace them if needed.
- Make sure the valve caps are on tight to keep the valve core safe from the weather.
- Don’t over-inflate your tires, as too much pressure can damage the valves.
When to Seek Professional Help
While you can handle many tire valve problems yourself, sometimes it’s best to get a pro’s help. If you’re not sure about your valves or if you keep getting leaks, it’s safer to get a mechanic’s opinion. They can figure out what’s wrong and fix it so your tires work their best.
By using these expert tips, you can keep your tires in top shape and avoid losing air. Remember, being proactive with tire maintenance and preventing air loss from tires is the secret to a smooth, safe, and reliable drive.
Troubleshooting Common Valve Problems
Tire valve issues can be more than just leaks. A stuck or corroded valve core can make adding air hard or cause slow tire pressure loss. Damaged valve stems might need to be replaced to work right again. Sometimes, a tire sealant can fix minor valve problems temporarily.
Dealing with a stuck valve core? A specialized tool for removing valve stems is key. It lets you safely take out the core and put in a new one. If your valve stem is too damaged, replacing it is the best way to get a tight seal.
Seeing tire pressure drop without any leaks? It might be a valve seal issue. Check the valve parts and make sure they fit well. Fixing valve problems quickly is important for safe and reliable tire use.
FAQ
What are the common signs of a leaky tire valve?
Signs include losing tire pressure often, hearing hissing sounds, and seeing damage or cracks on the valve stem.
What basic tools are required for tire valve repair?
You’ll need a valve core tool, a tire pressure gauge, soapy water, and a valve stem removal tool. Don’t forget gloves and eye protection for safety.
How do I identify the source of a tire valve leak?
Apply soapy water to the valve stem and look for bubbles. Listen for hissing sounds and check for damage visually.
When should I replace the entire valve stem versus just the valve core?
Replace the whole valve stem if it’s badly damaged, cracked, or corroded. For minor leaks, just replacing the valve core might do.
How do I properly install a new valve core?
Remove the old core with a valve core tool. Put in the new one and tighten it well. Then, test it with soapy water to ensure no leaks.
What maintenance steps can I take to prevent future valve leaks?
Regularly check valves for damage and keep valve caps on. Also, ensure the tires are properly inflated. Clean the valve regularly.
When should I seek professional help for a tire valve issue?
If you can’t find or fix a leak, or if the valve stem is badly damaged, get a professional tire technician’s help.


